Photoredox
Merck Center for Catalysis

Merck Center for Catalysis at Princeton University
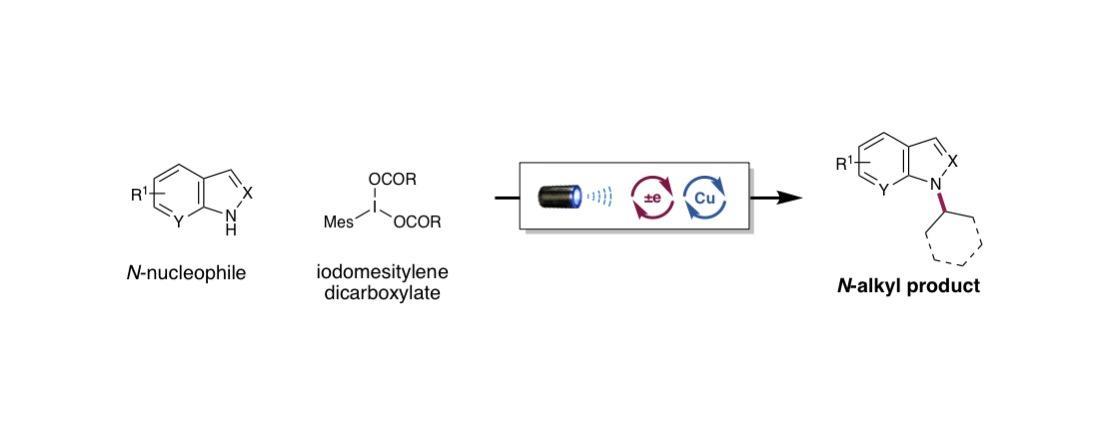
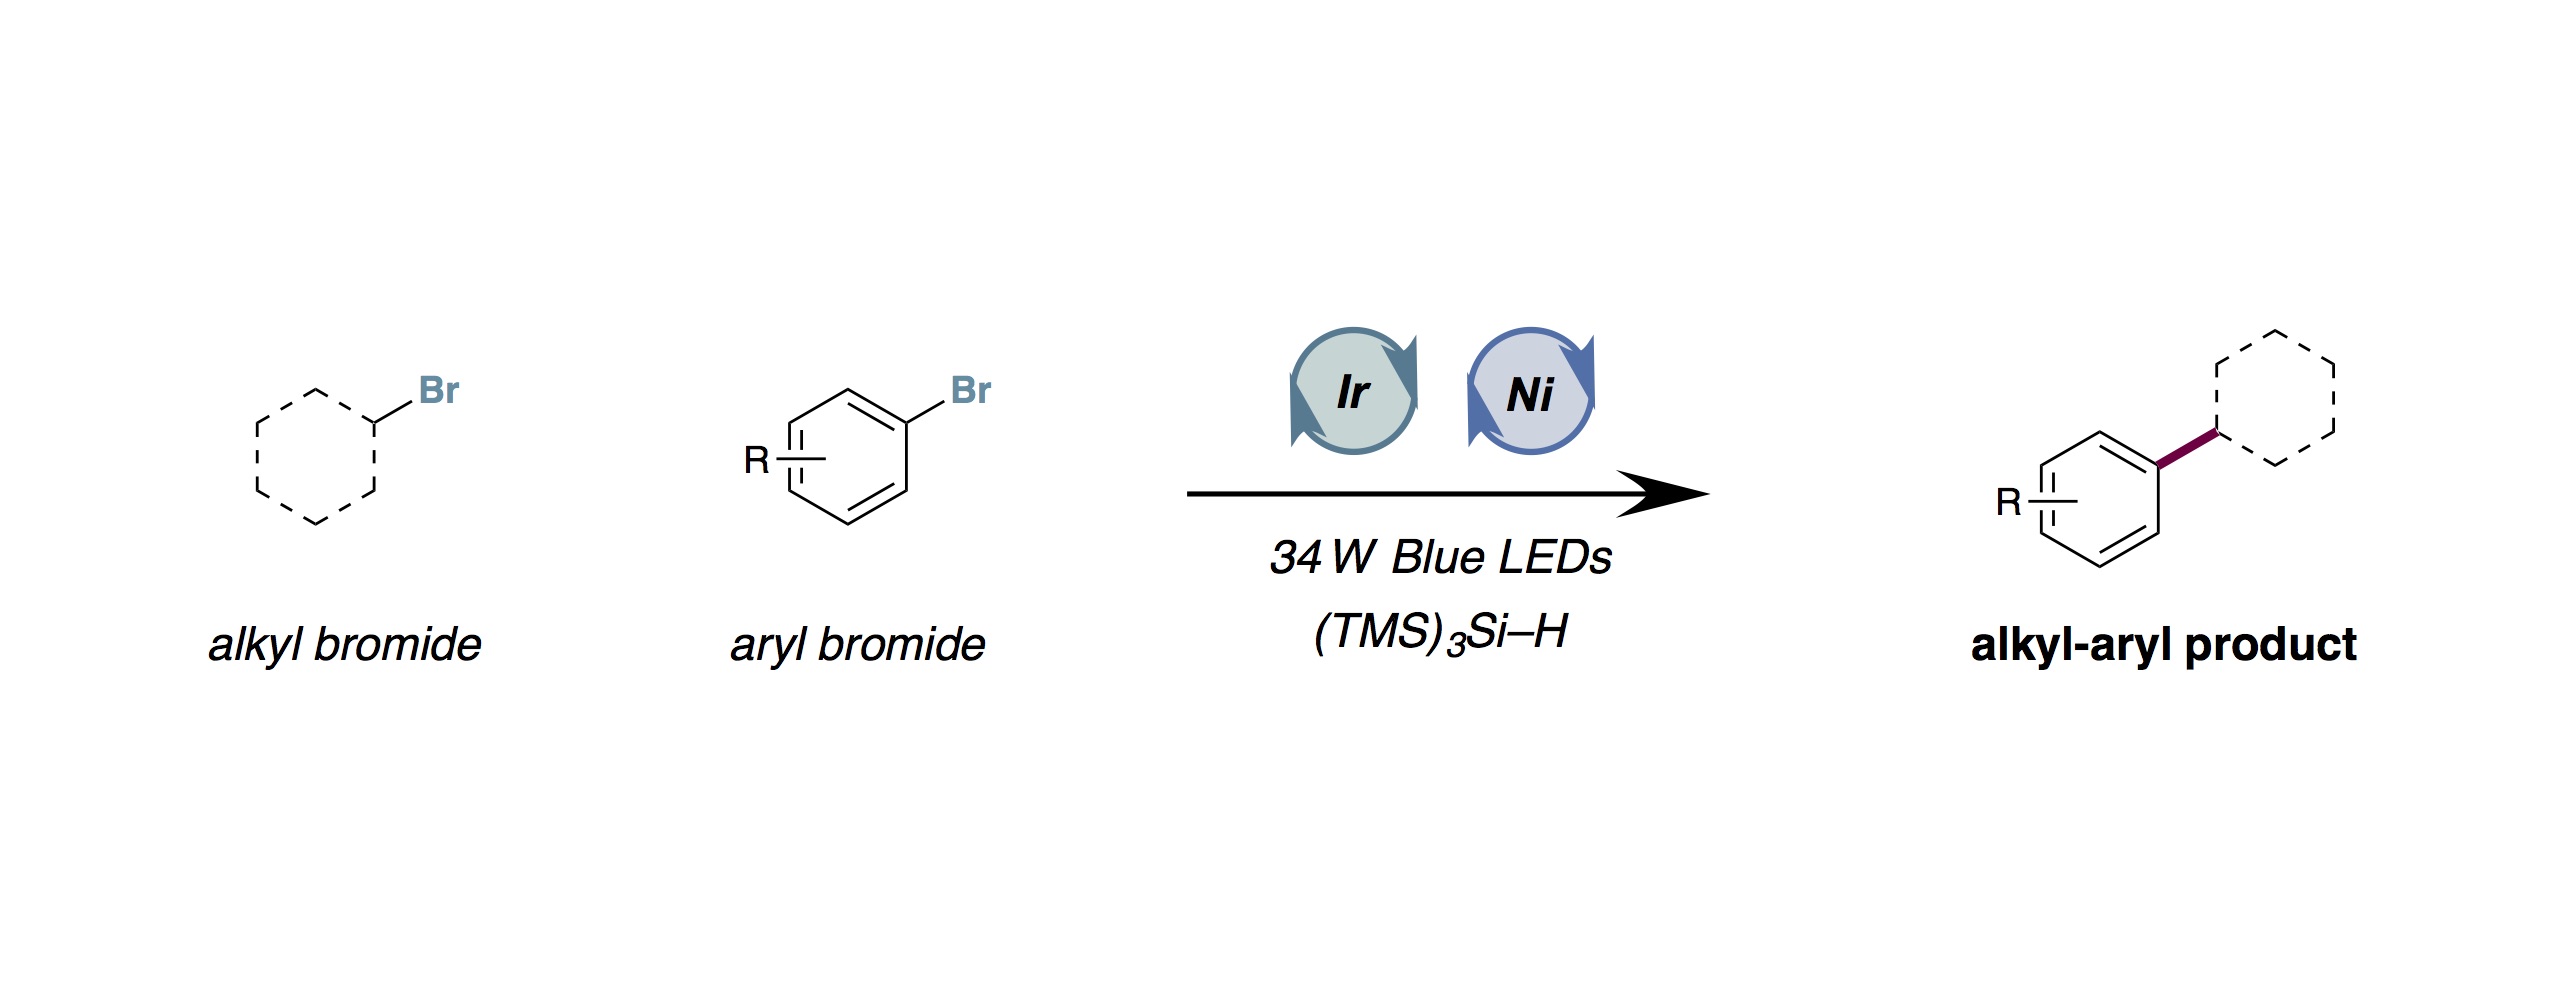
The Merck Center for Catalysis is a close collaboration between the chemistry department at Princeton University and Merck Research Laboratories. Our common goal is to utilize unique perspectives, novel methodologies, and new technologies to create valuable strategies for addressing some of the challenges of molecule construction in drug discovery. Development of innovative reaction platforms within our laboratory has been greatly aided over the past few years from this collaborative effort. Recent interests have been in the area of photoredox catalysis and its potential to streamline synthetic sequences. As a notable outgrowth, this endeavor has led to the invention of several new C-C and C-N bond forming technologies along with the Merck photoreactor (see below).
Merck photocatalysis chartPhotoredox Reactions – Tips and Tricks
General Setup
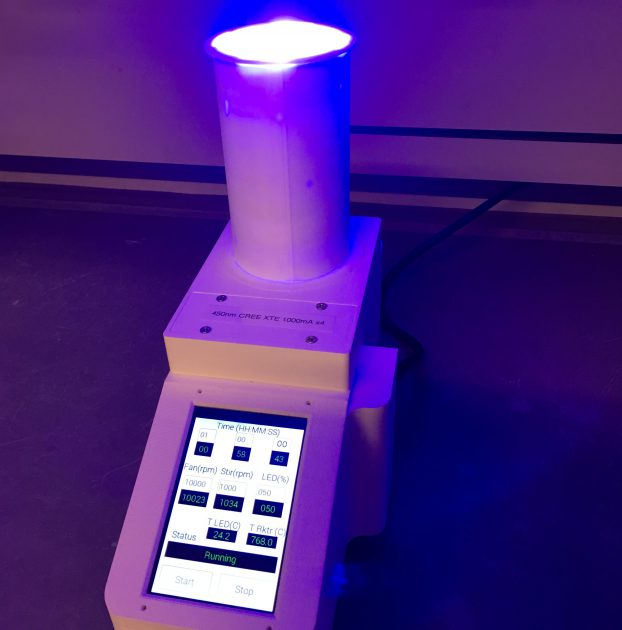
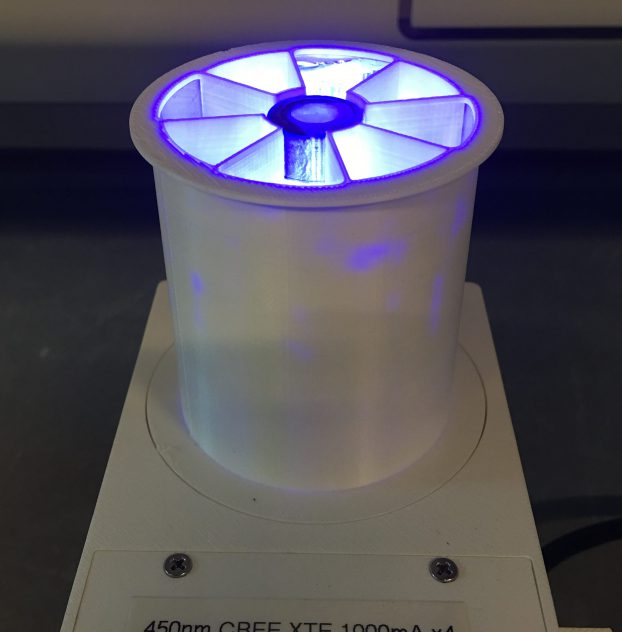
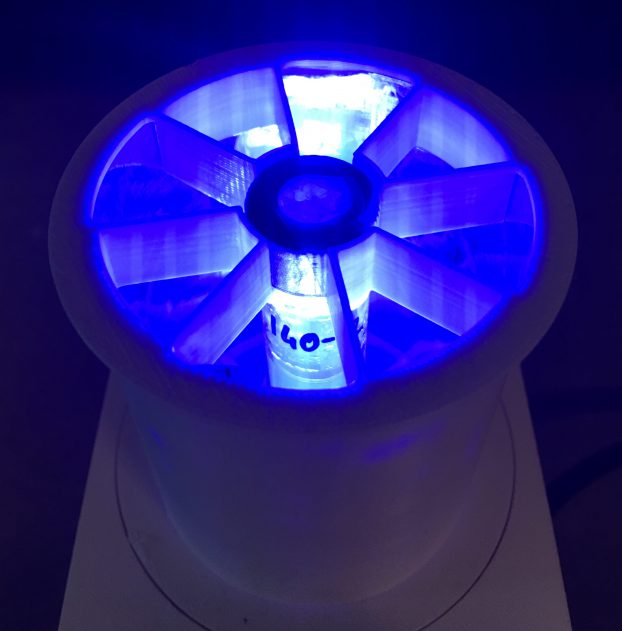

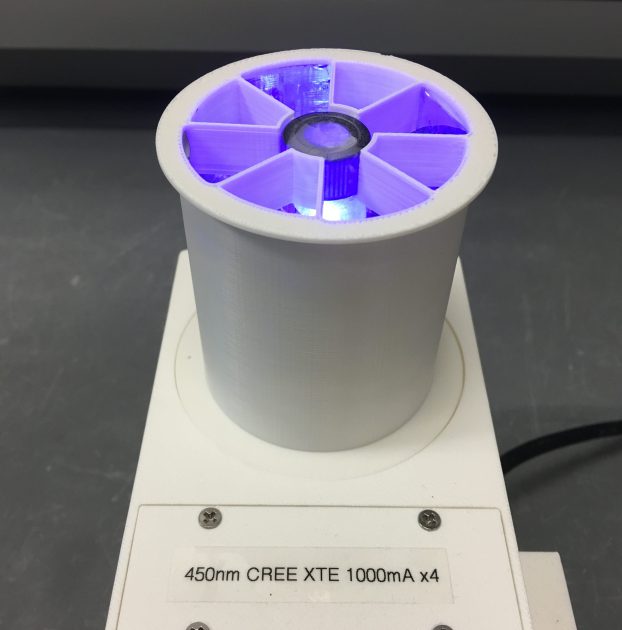
Merck Photoreactor
A valuable addition to photochemistry, the Merck photoreactor was invented through a collaboration between the MacMillan group and Merck & Co., Inc. This unique design standardizes reaction parameters such as time, light intensity, stir rate, and temperature, all of which can be input via the interactive touch screen on the front panel. Reaction vials are placed inside the cylindrical vessel on top and held above blue LED lights while being surrounded by a reflective lining. The design has been shown to accelerate dramatically reaction times across the board. The information for purchase of this new instrument is provided below.
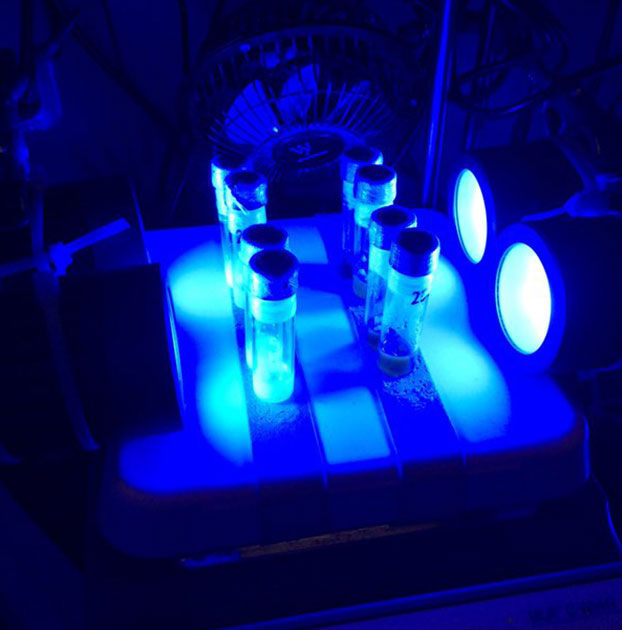
LED Lamps
This is super easy. The lamps are ready out of the box. Just clamp them up, plug them in, and go. We recommend placing the lamps anywhere from 4-10cm away from your vials, and then place a fan blowing down on the vials. Some reactions can have multiple reactions/light, some may require multiple lights/reaction for optimal yield. You can secure these either with regular clamps or Kessil Gooseneck Clamp/Mount (link below). If so desired, more lamps/fans can be added to allow more reactions to be run at once.
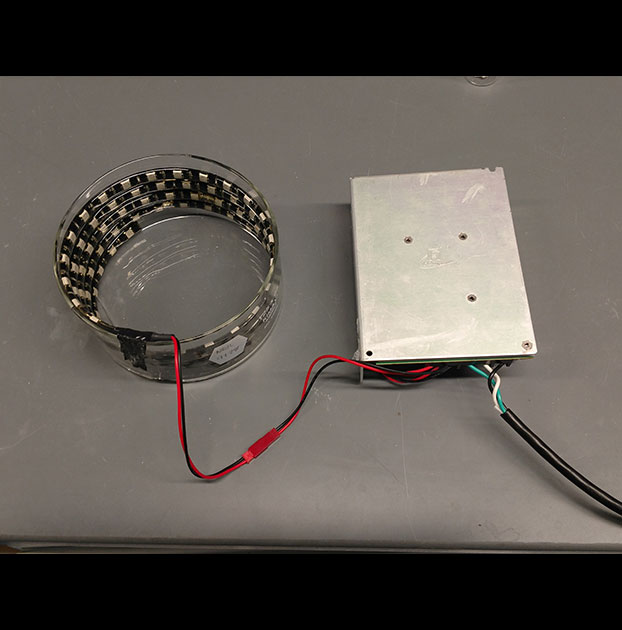
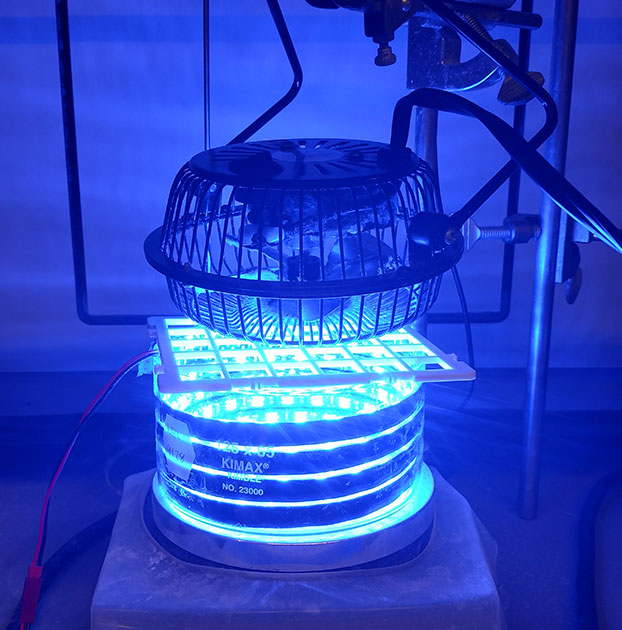
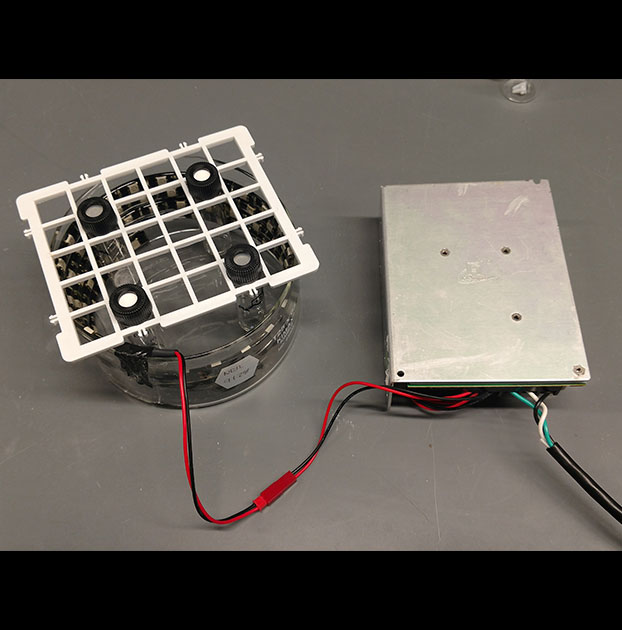
LED Strips
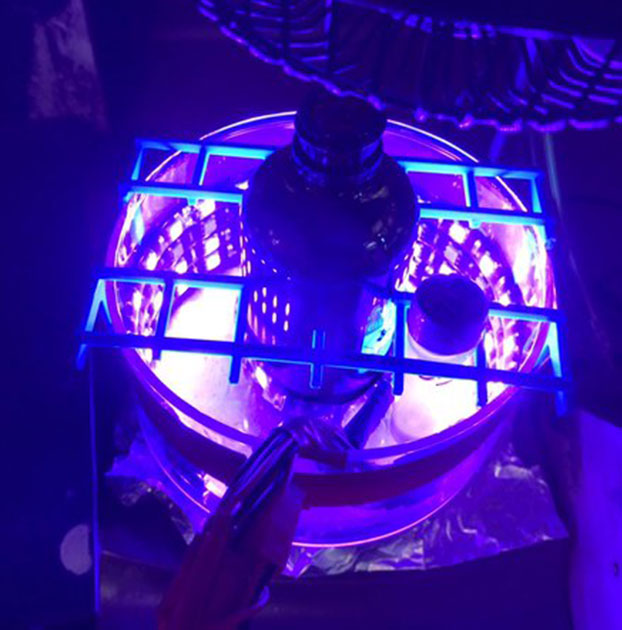
We use double-density sapphire blue LEDs from Creative Lighting Solutions. They come in two formats: 5-meter spools or precut strips sold by the foot. The precut strips come prefabricated with power connectors. The spools must be cut, soldered to power connectors and then protected with heat-shrink tubing. Both the precut strips or spools require power supplies and cords. The LED strips come with an adhesive back, so they may be easily adhered to the inside of a crystallization dish. We usually use enough length to wrap around a 125 × 65 mm crystallization dish 3–4 times. Reactions are generally placed ~1 cm away from the lights (the walls of the dish), by placing them in a grid from a test tube rack.
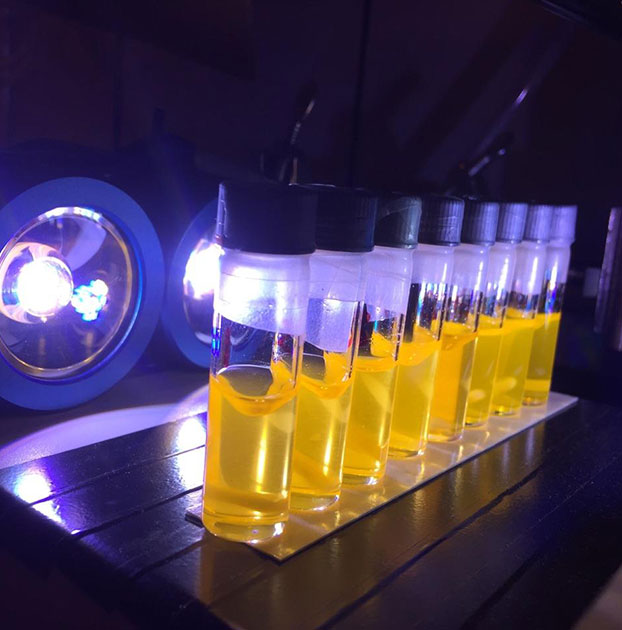
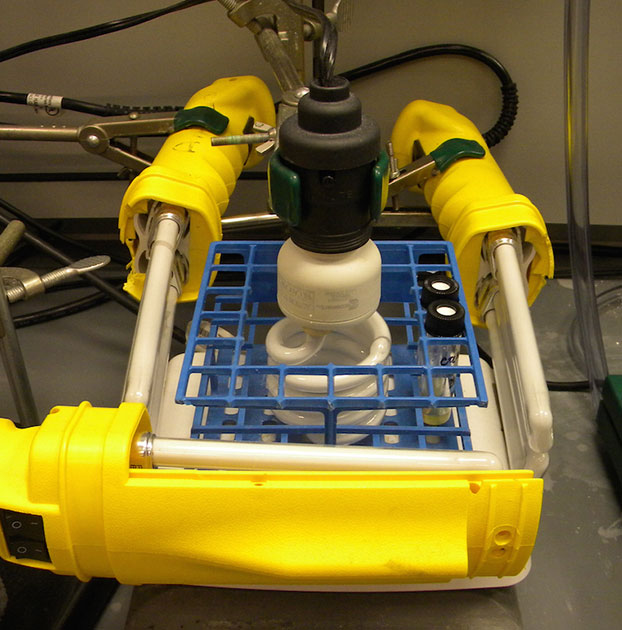
CFL Bulbs
We used two types, either just a white household CFL bulb in a socket with power cord or a white CFL handheld worklight with the cover removed, both of which we get from Home Depot. The worklight is useful to line up a bunch of reactions in a row alongside it, while the bulb/socket is good for arranging reactions in a circle around it. Space was cut out in a test tube rack for the lightbulb to maximize illumination.
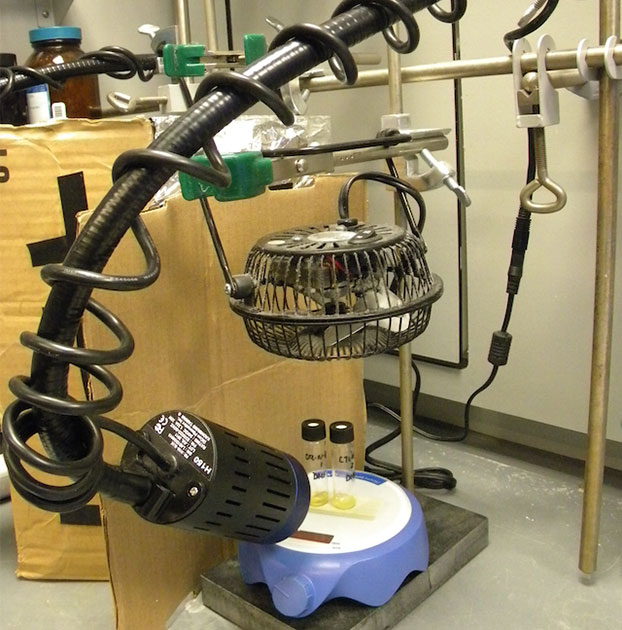
Temperature control
We typically use fans for all our photoredox reactions to keep the lights from heating up the reaction. A small desktop fan. Just make sure not to buy a USB-powered fan! You’ll want to plug it in to an outlet (or just have a whole setup on one power strip).
Other considerations
Stir rate can be an important parameter to control. Reactions that are heterogenous (e.g. if they use inorganic bases) will need a high stir rate (~1000 rpm).
You will likely also want to purchase some orange-tinted blue-light-blocking safety glasses. Two options, from Uvex and Smith and Wesson, are linked below.
Purchase Links
Blue Kessil LED lamps: 34 W (KSH150B), 40 W (A160WE), and Flexible Clamp
Double-density sapphire blue LEDs from Creative Lighting Solutions, and other supplies
White CFL Worklamp and Light Socket
Merck Photoreactor
Fans
Double-sided tape for keeping reactions in one spot on stir plate
Uvex Blue Light Blocking Safety Glasses
Smith and Wesson Blue Light Blocking Safety Glasses